


How to protect sensitive information in SharePoint Online using Purview Sensitivity Labels
Contents
This post explains how we can use Microsoft Purview Sensitivity Labels to protect sensitive information stored in a SharePoint Online site.
What are Sensitivity Labels?
Microsoft Purview Sensitivity Labels are a data classification and protection system that helps organizations identify, classify, and protect sensitive information across Microsoft 365 and other services. They help you:
- Classify your data: Define different levels of sensitivity for your data, such as Confidential, Highly Confidential, and Public.
- Protect your data: Apply protection settings to different levels of sensitivity, such as encryption, access restrictions, and data loss prevention.
- Track your data: Track the movement of sensitive data and identify potential data breaches.
Here are some of the benefits of using Microsoft Purview Sensitivity Labels:
- Reduces the risk of data breaches: By classifying and protecting your sensitive data, you can make it more difficult for unauthorized users to access it.
- Improves compliance: Sensitivity labels can help you meet compliance requirements for data privacy and security.
- Increases productivity: By making it easier for users to identify and protect sensitive data, you can help them be more productive.
Allow the creation of Sensitivity Labels
The creation of Sensitivity Labels, may be disabled in your Office 365 tenant. To ensure you can create Sensitivity Labels, run the following script in a PowerShell window. Make sure to change the variables to your environment accordingly.
$AdminCenterURL = "https://dev-admin.sharepoint.com"
Connect-SPOService -Url $AdminCenterURL
Set-SPOTenant -EnableAIPIntegration $true

Import-Module AzureAD
Connect-AzureAD
$Setting = Get-AzureADDirectorySetting -Id (Get-AzureADDirectorySetting | where -Property DisplayName -Value "Group.Unified" -EQ).id
$Setting["EnableMIPLabels"] = "True"
Set-AzureADDirectorySetting -Id $Setting.Id -DirectorySetting $Setting
If you don’t have the AzureAD PowerShell module installed, install it before executing the script by running:
|
Creating a Sensitivity Label
To create a Sensitivity Label, follow the following steps:
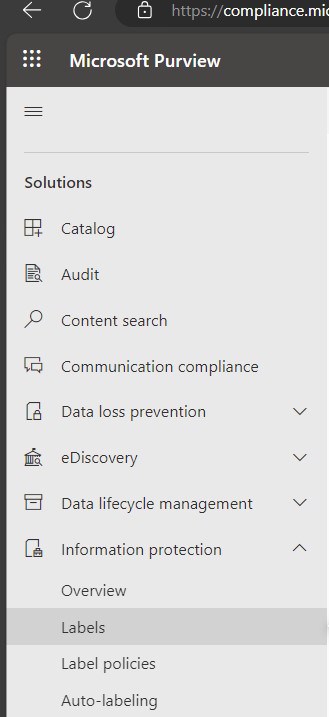
- Access the Microsoft Purview compliance portal at https://compliance.microsoft.com/ with your Microsoft 365 credentiais.
- Select Information protection –> Labels
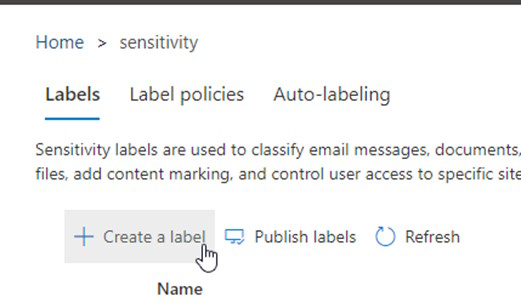
- Select “Create a label”
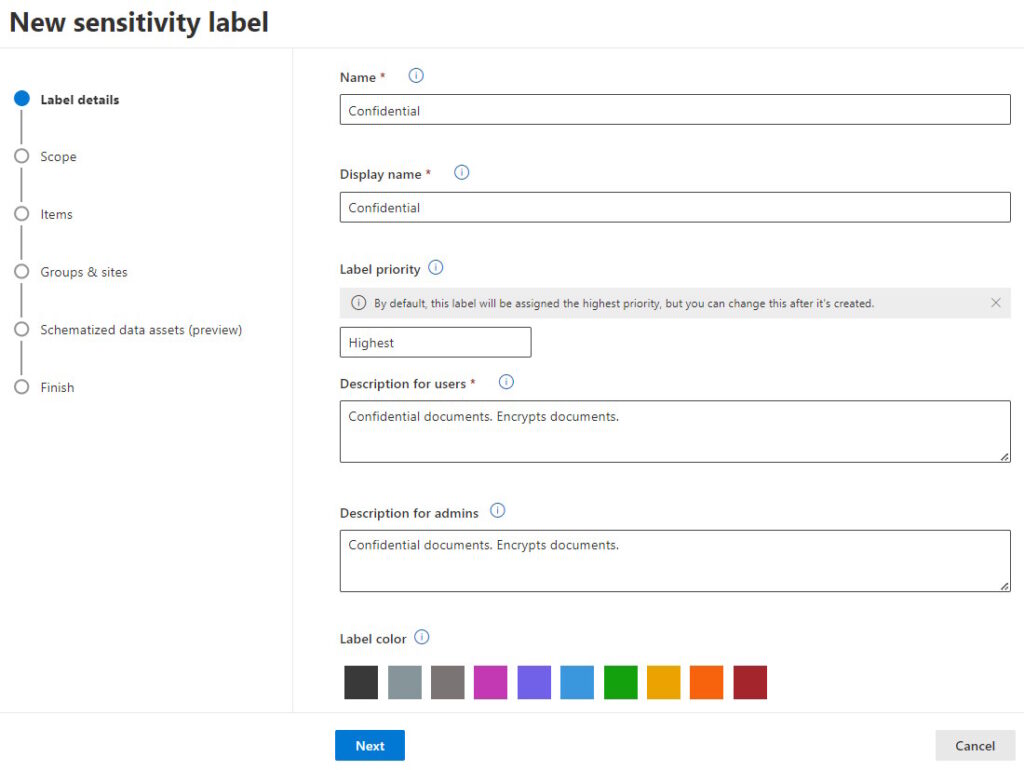
- Give the label a name. Example: Confidential. In the end, click Next.
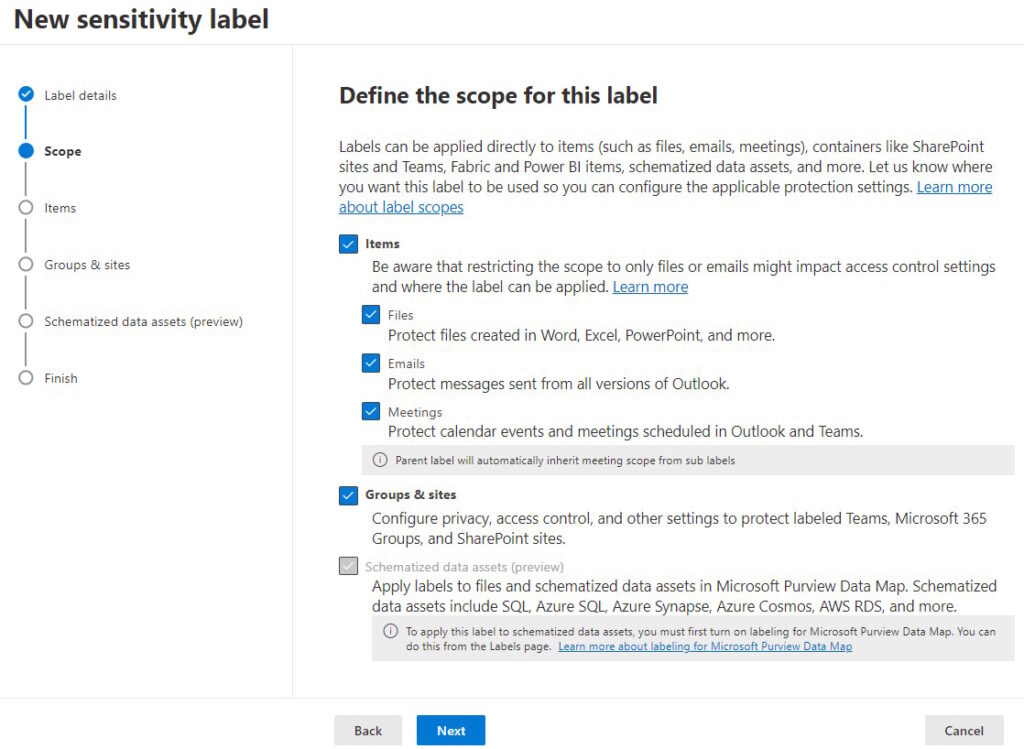
- Define the scope of the label. Choose both “Items” and “Groups & sites”. This will allow you to apply the label to both documents and SharePoint sites. In this post, I will focus on SharePoint sites.
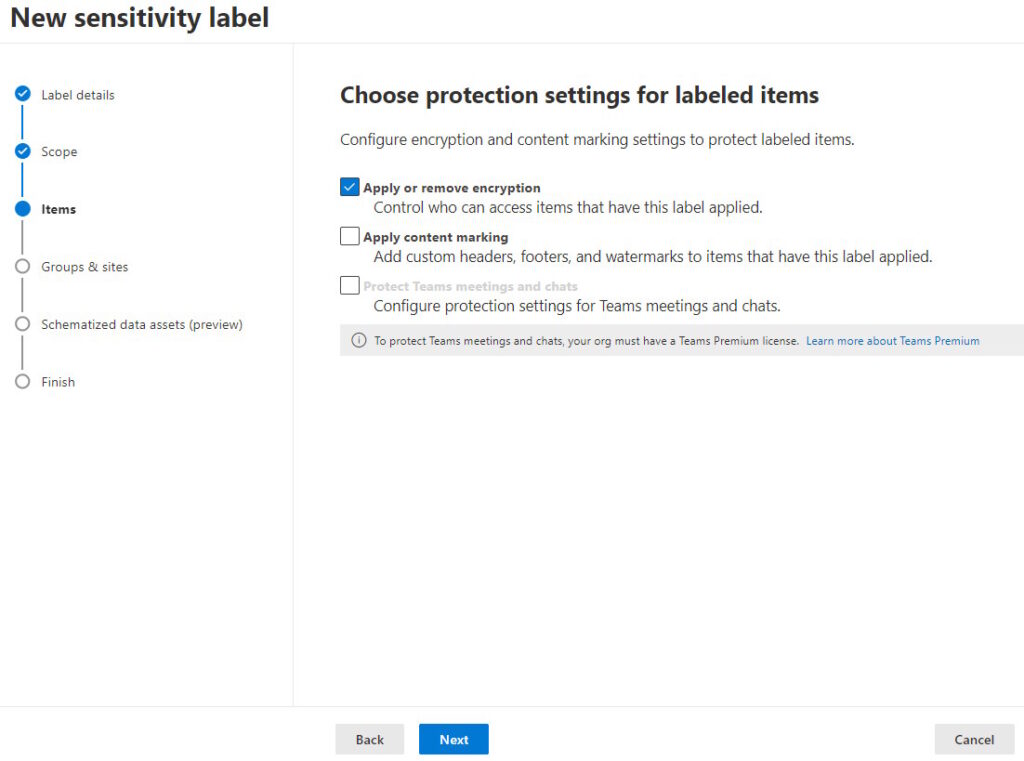
- Choose the protection settings for the labeled items. Select “Apply or remove encryption”. If you want to apply a content marking to the labeled items, select “Apply content marking”.
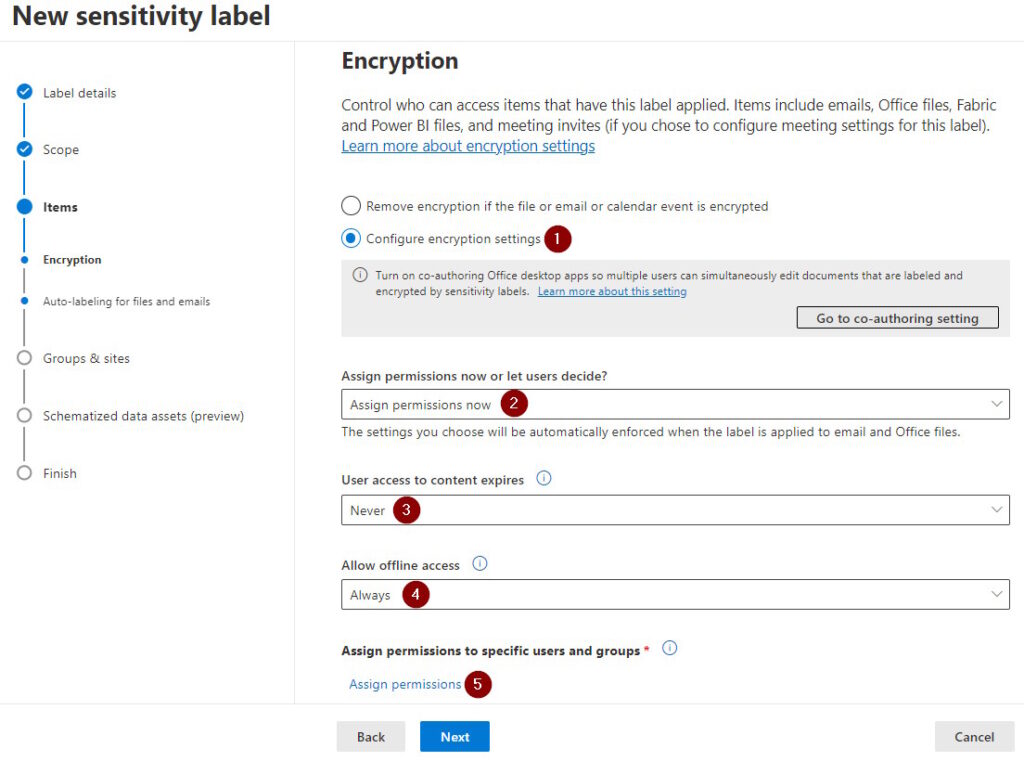
- Define the encryption settings. Select “Configure encryption settings” with the following parameters:
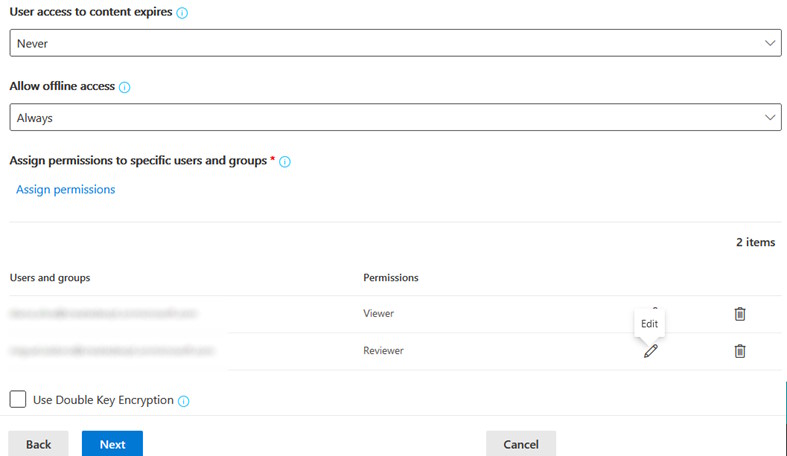
- Assign permissions now or let users decide? : Assign permissions now. With this setting, when the label is applied, the permissions we will define below will be applied
- User access to content expires: Never. With this setting, users will not loose access after a period of time.
- Allow offline access: Always. With this setting, users may edit documents offline.
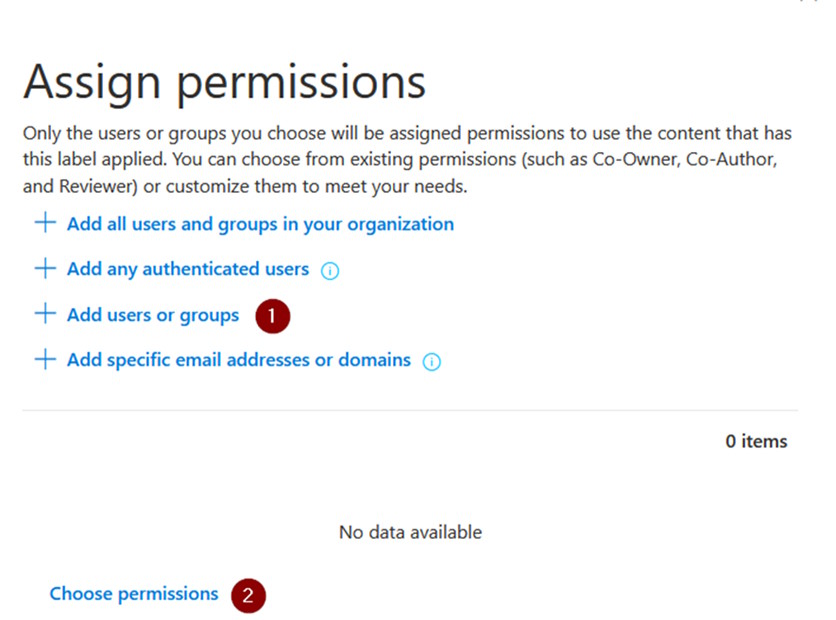
In the end, select “Add permissions”.
- For this example, for simplicity, in the “Assign permissions” screen, select “Add any authenticated users”.
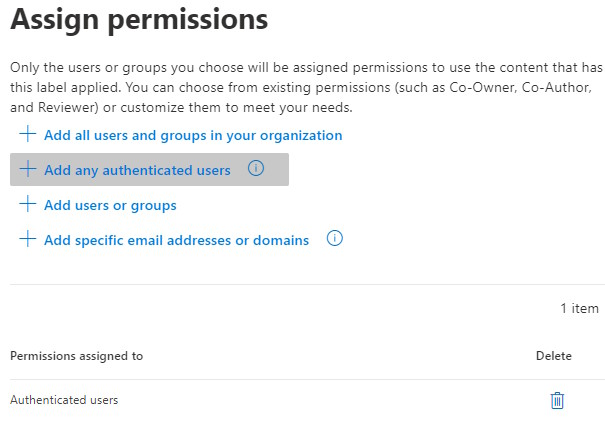
- Select “Choose permissions”
- Select “Viewer” permission and click “Save” twice to close the “Assign permission” window.
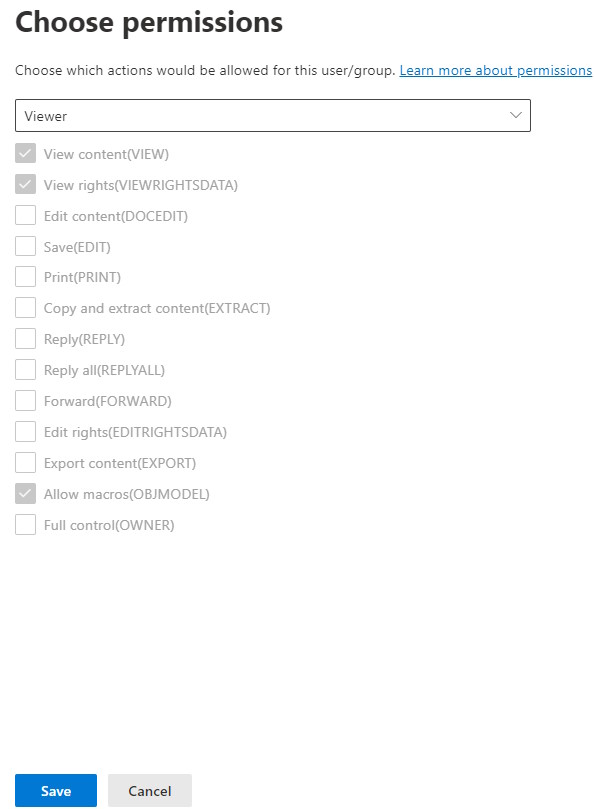
With this permission, we are granting all authenticated users the Viewer permissions which will grant readonly permissions to the documents classified with this label.
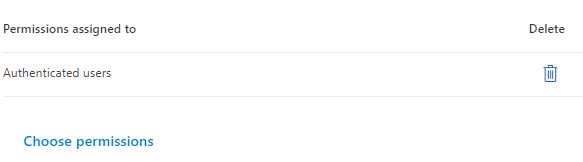
- Next, we want to add edit permissions to a group of users. Select “Assign permission” again.

- Select “Add users or groups” and choose a group of users you want to assign edit permissions to.
- Select the “Reviewer” permission
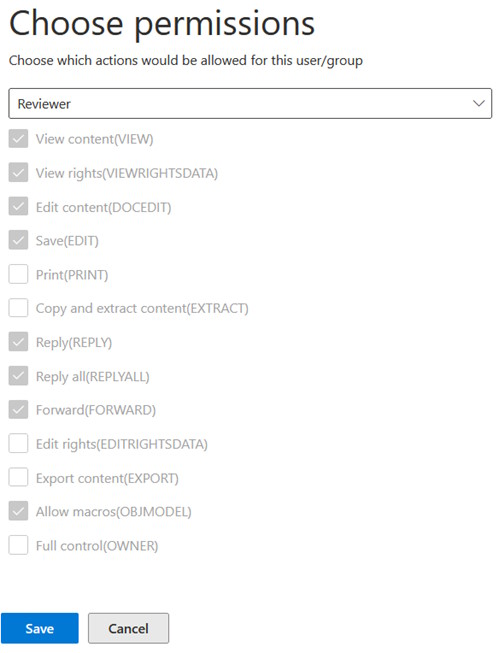
- Confirm all permissions and click Next.
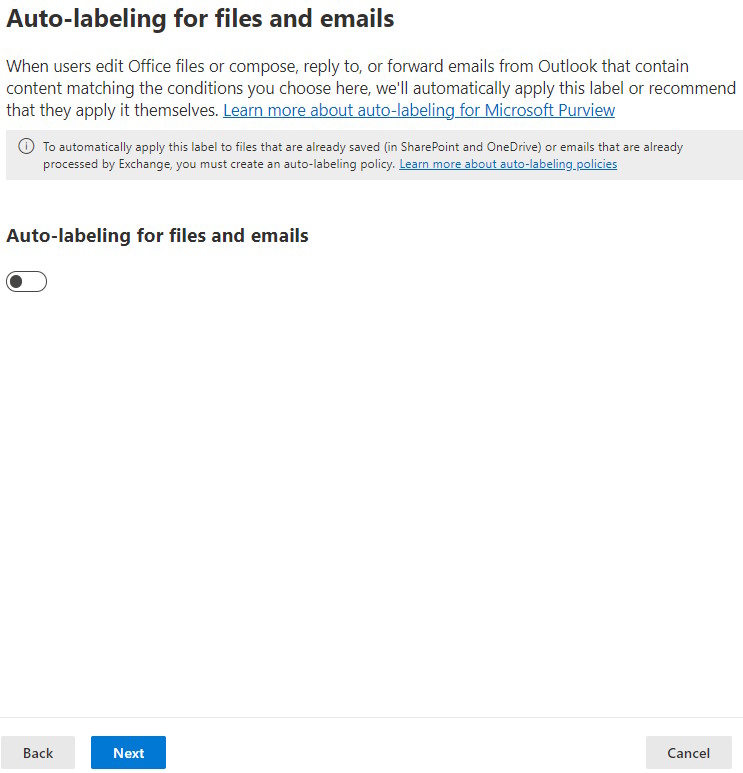
- Don’t select the option “Auto-labeling for files and emails”. Click Next.
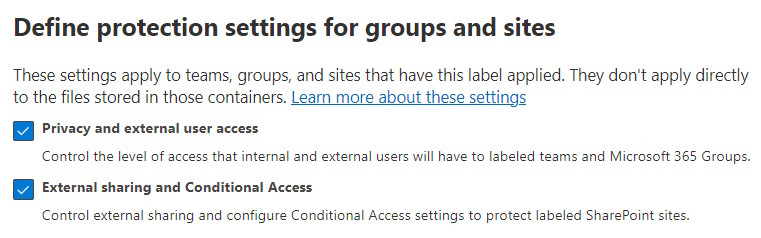
- Select “Privacy and exte
al user access” and “Exte
al sharing and Conditional Access” options.
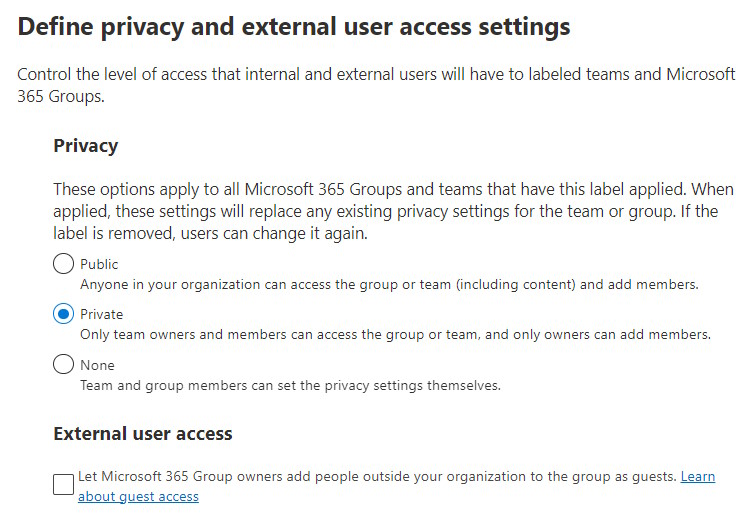
- In “Privacy” section, select “Private”. This way, only team owners and members can acess the group or team. In the “Exte
al user access”, don’t select the option “Let Microsoft 365 Group owners add people outside your organization to the group as guests.”. This way, only users from within the organization can access the SharePoint site.
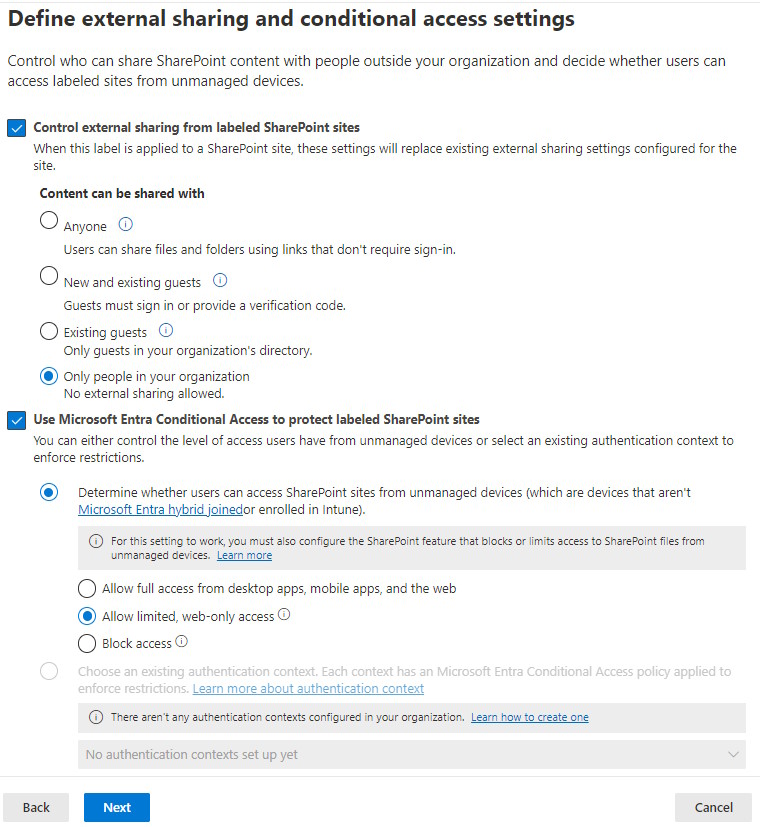
- In “Define exte
al sharing and conditional access settings”, select “Control exte
al sharing from labeled SharePoint sites” and “Use Microsoft Entra Conditional Access to protect labeled SharePoint sites”. In the “Control exte
al sharing from labeled SharePoint sites” section, select “Only people in your organization”. This way, SharePoint sites labeled with this label, will only be acessed by and shared with people in your organization. In the “Use Microsoft Entra Conditional Access to protect labeled SharePoint sites”, select “Allow limited, web-only access”. This will only allow users from unmanaged devices (devices not managed by your organization, typically personal devices) to access documents in the labeled SharePoint sites using the browser (not being to synchronize the document libraries for offline access, download documents or open documents in the Office desktop applications).
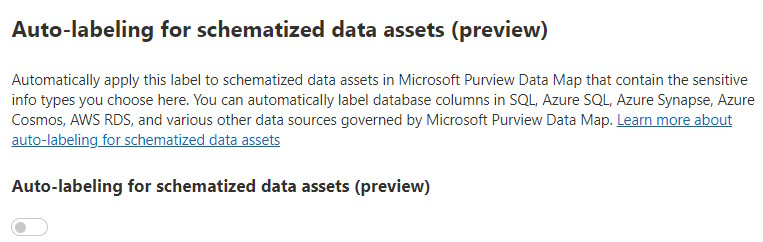
- In the “Auto-labeling for schematized data assets (preview)” section, leave the option unselected and click “Next”.
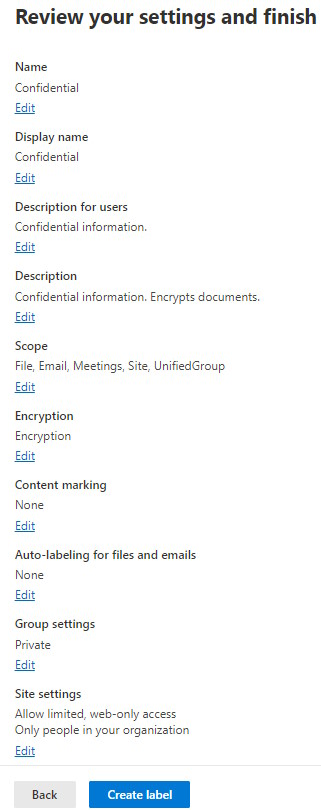
- Review the label settings and click “Create label” to finish the label creation process.
Publish a Sensitivity Label
In order for a label to be made available, we need to publish it. To publish a label, follow the following steps:
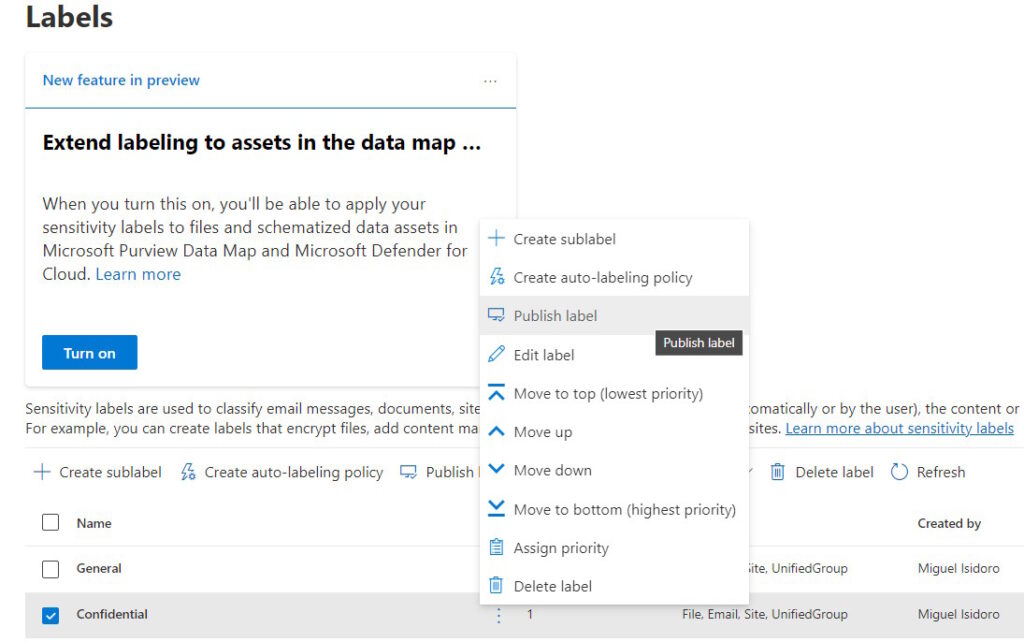
- In the Labels page, select the label and the option “Publish label”.
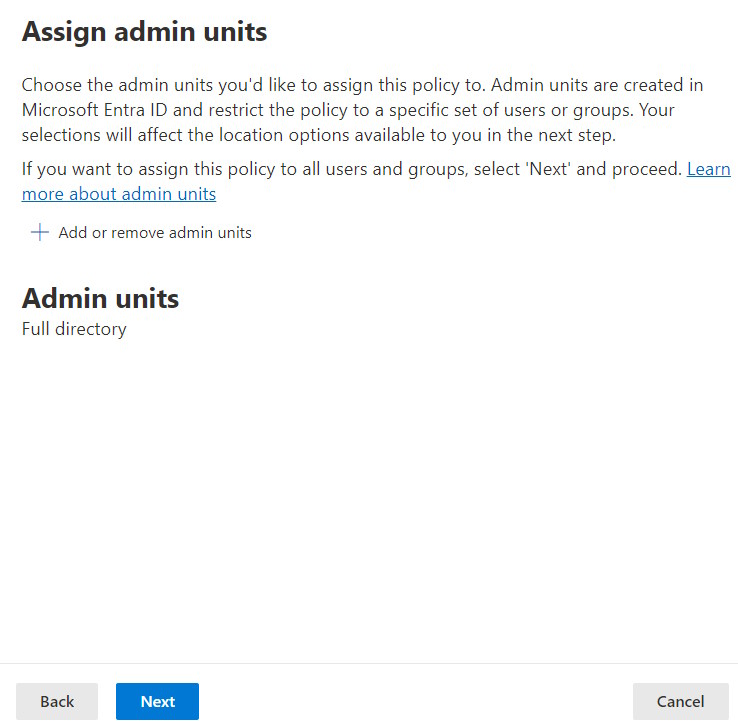
- In “Assign admin units” page, leave the default values and click “Next”.
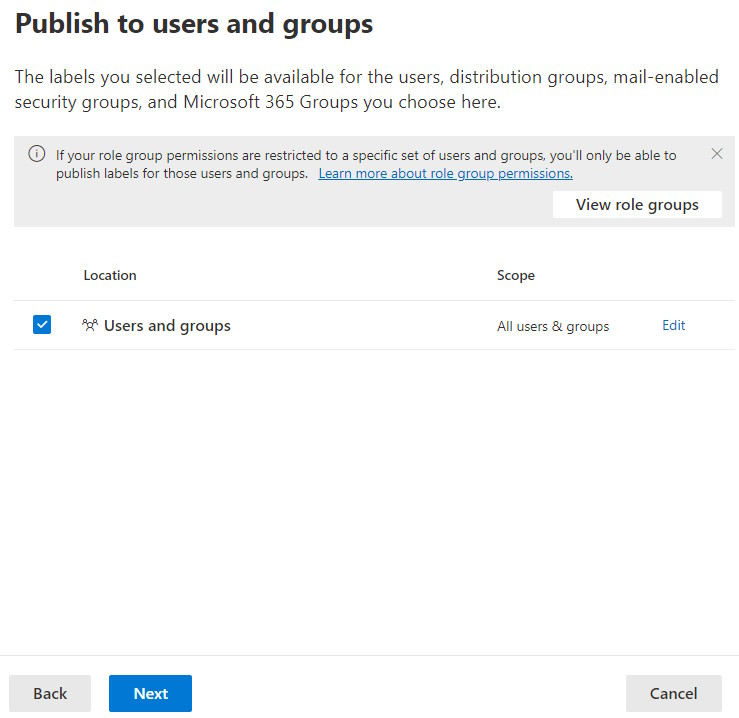
- In “Publish to users and groups”, add all users and groups and then click “Next”. If you want to test the Label to a restricted group of users, select a group with the users that you want to include in test.
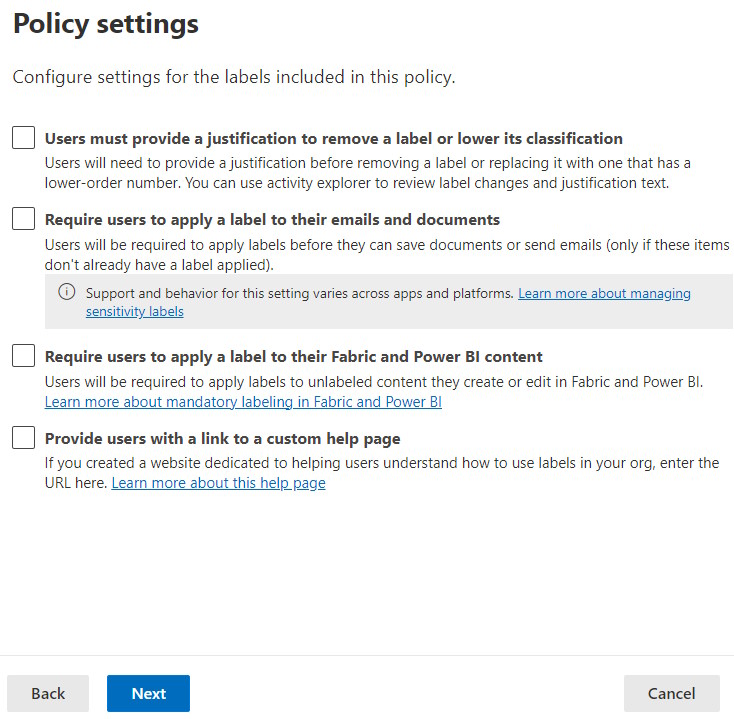
- In “Policy settings”, leave all options unselected and click “Next”.
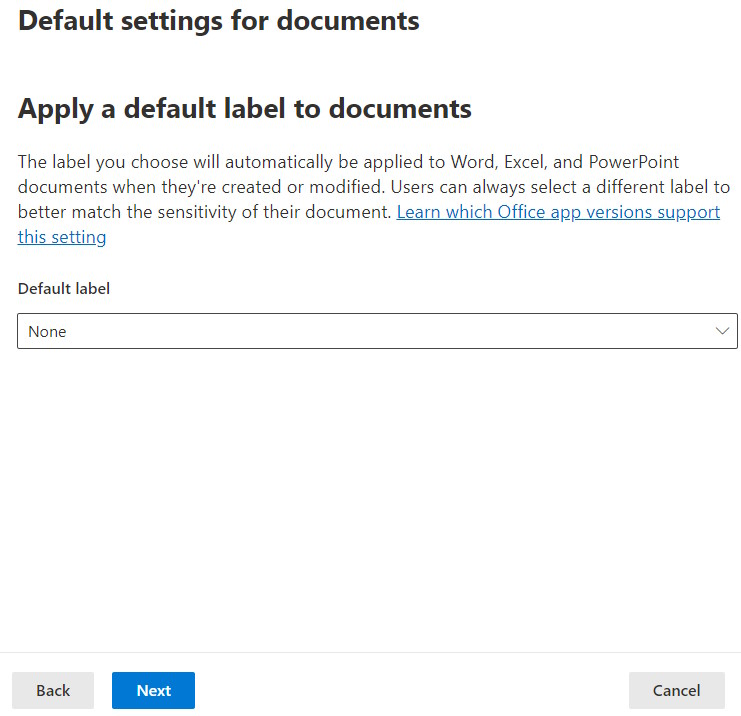
- In Default settings for documents, select “None” for “Default label”. With this selection, labels won’t be applied by default to Office documents. Click “Next”.
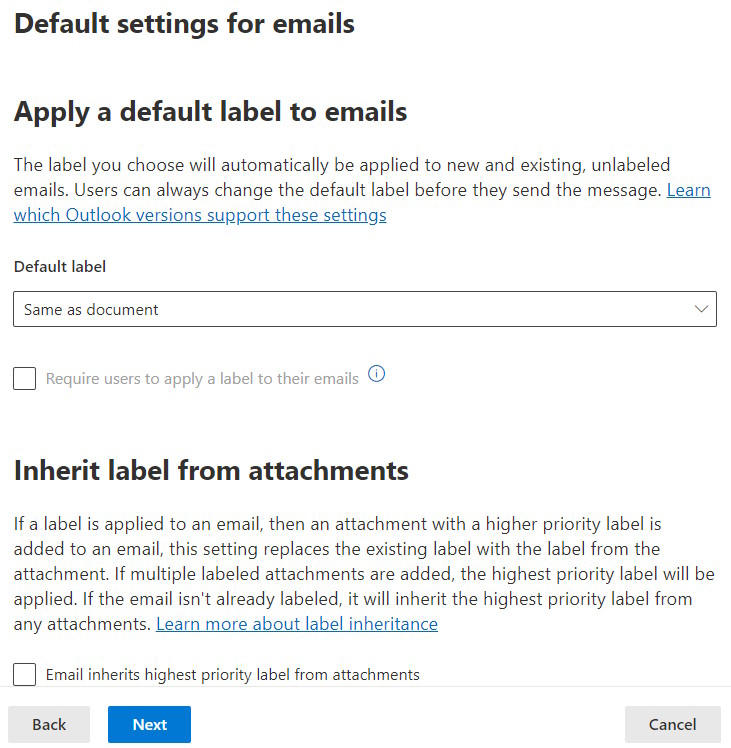
- In Default settings for emails, select “Same as document” in “Default Label” and leave the checkbox “Email inherits highest priority label from attachments” unchecked and click “Next”.
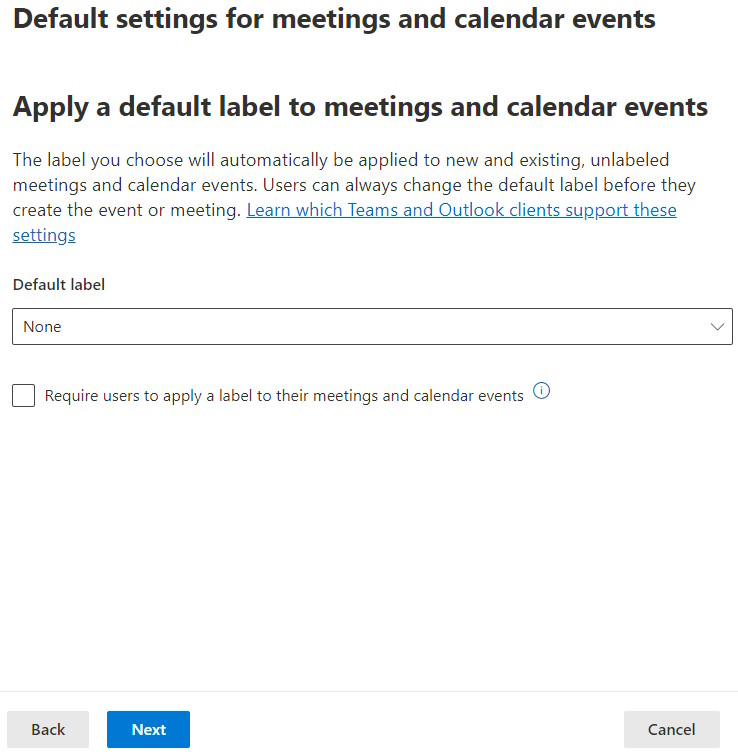
- In “Default settings for meetings and calendar events”, select “None” for “Default label” and click “Next”.
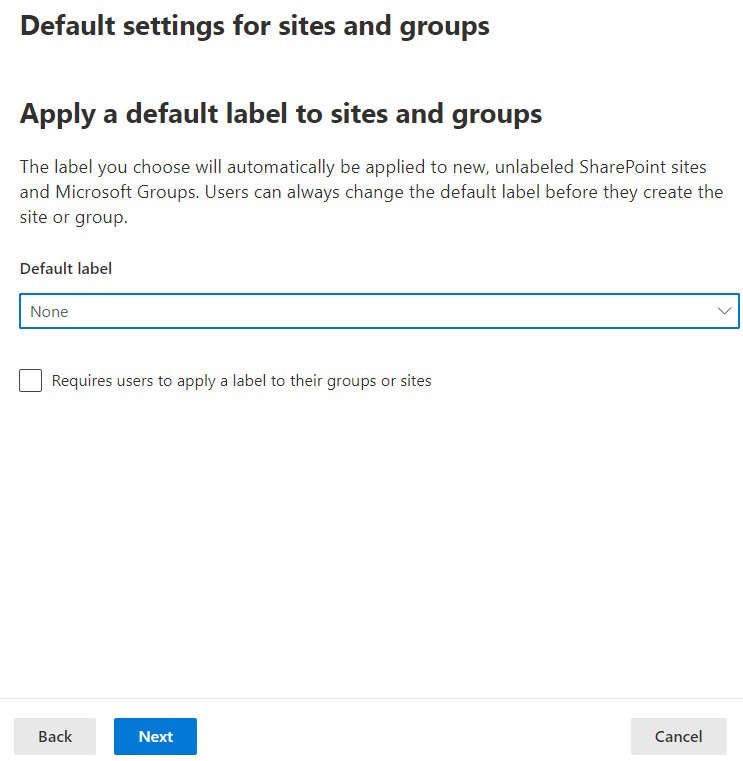
- In “Default settings for sites and groups”, select “None” for “Default label” and click “Next”.
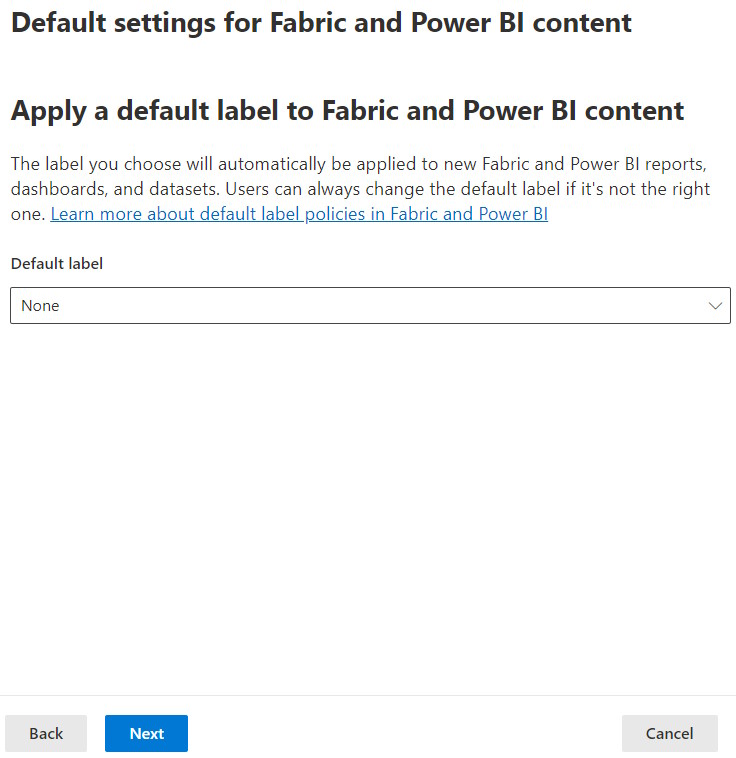
- In “Default settings for Fabric and Power BI content”, select “None” for “Default label” and click “Next”.
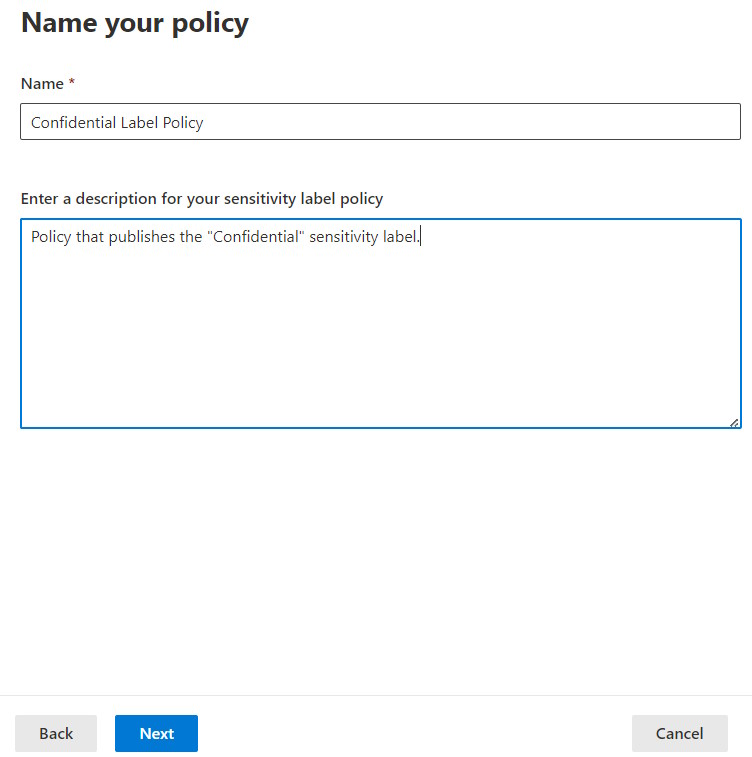
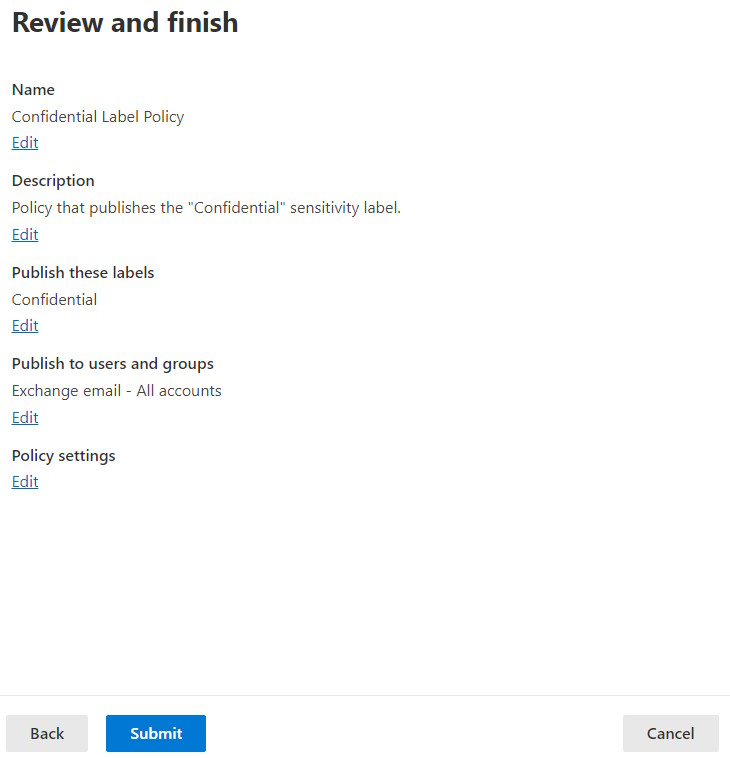
- In “Name your policy”, name your policy and give it a description.
- Review and submit the Label policy to finish the policy creation process.
NOTE: New labels may take up to 1h to be available. Updates to existing labels may take up to 24h to take effect.
Testing Access to SharePoint
To test if the label is successfully applied, we are going to create a SharePoint Team site and apply the label to the site. Follow the following steps:
- Click SharePoint in the left top co
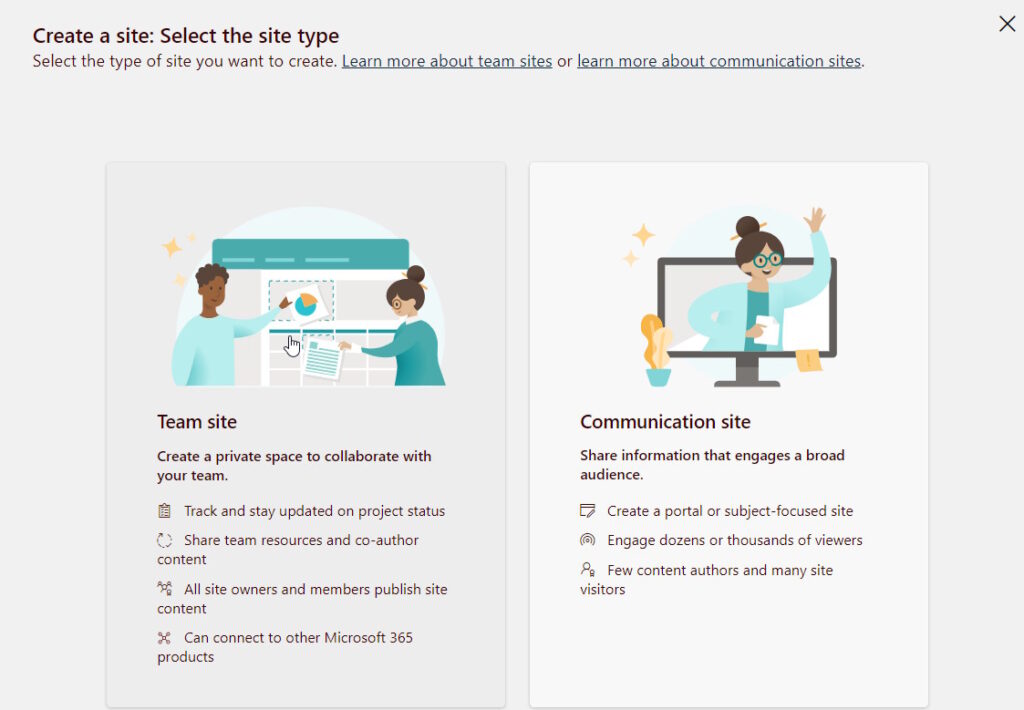
er to go to the SharePoint homepage - In the SharePoint homepage, create a new site.

- Choose a Team Site
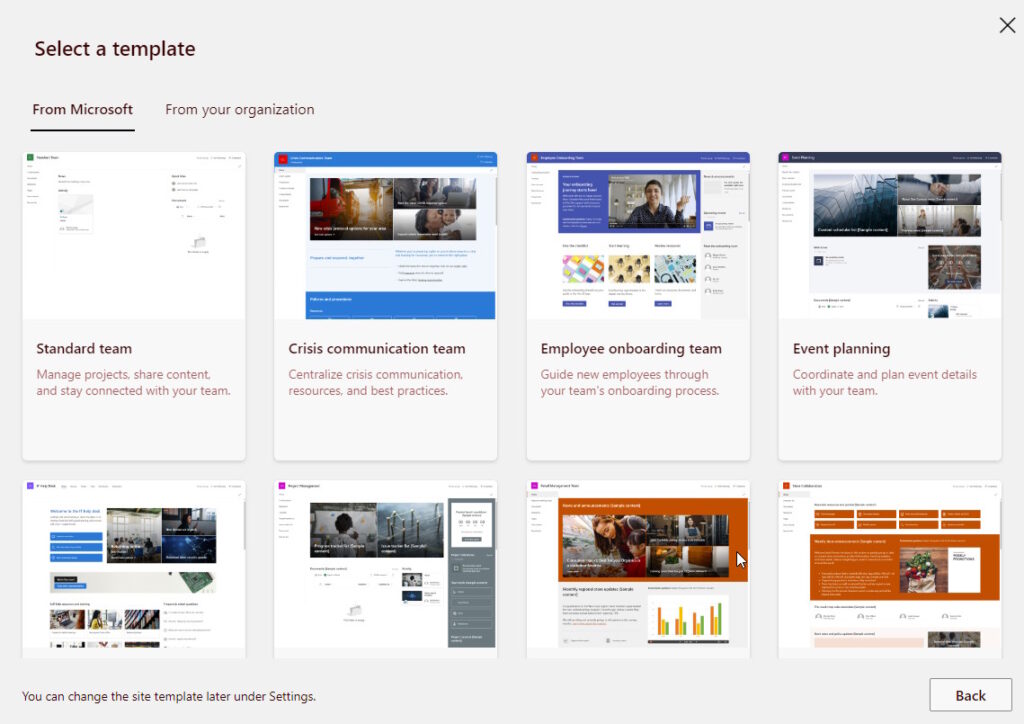
- Choose any template. For simplicity, I selected “Standard team”.
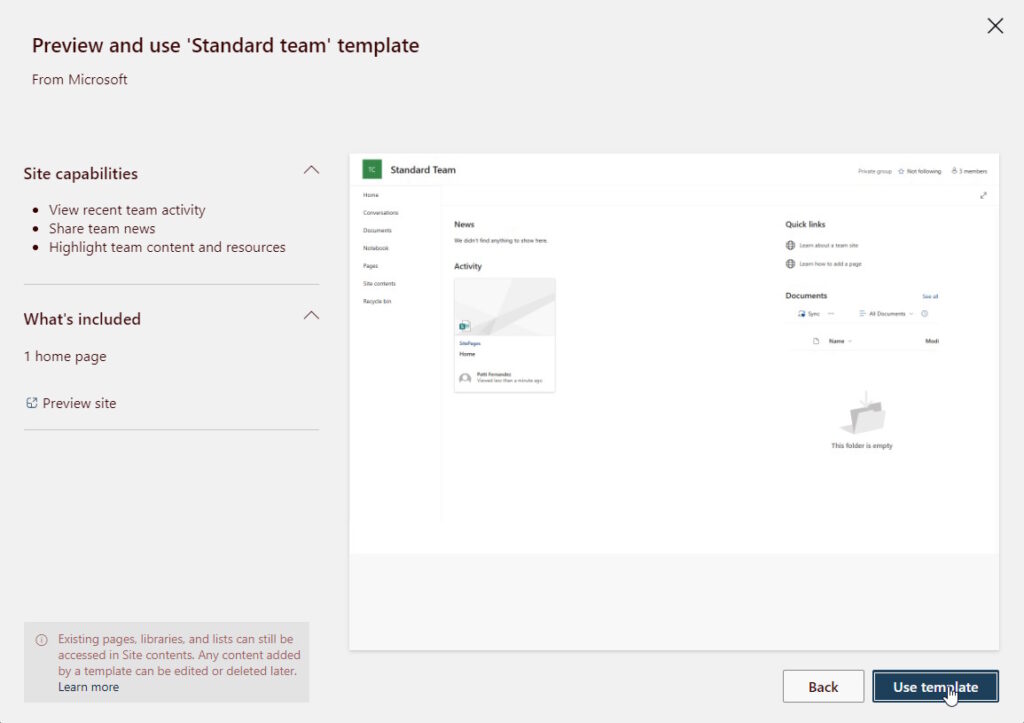
- Click on “Use Template”
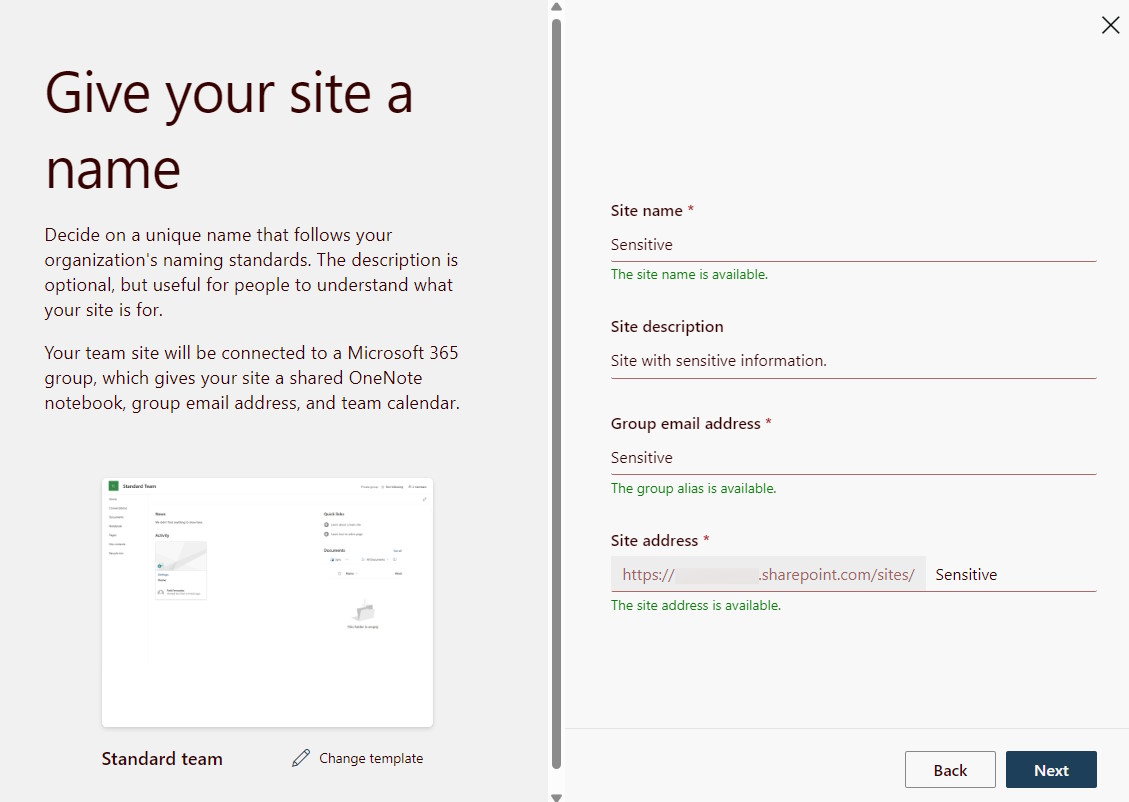
- Set the site name, group email address and site address.
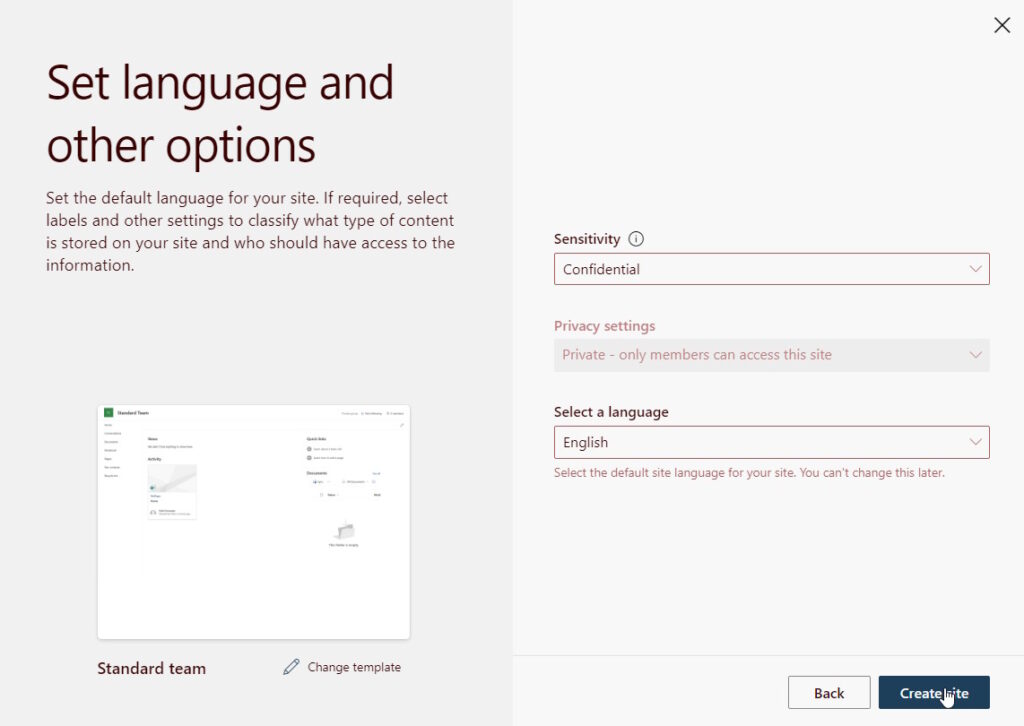
- Set the sentitivity label for the new site by choosing the label we created earlier. The privacy will automatically be set to Private as we defined in the label settings.
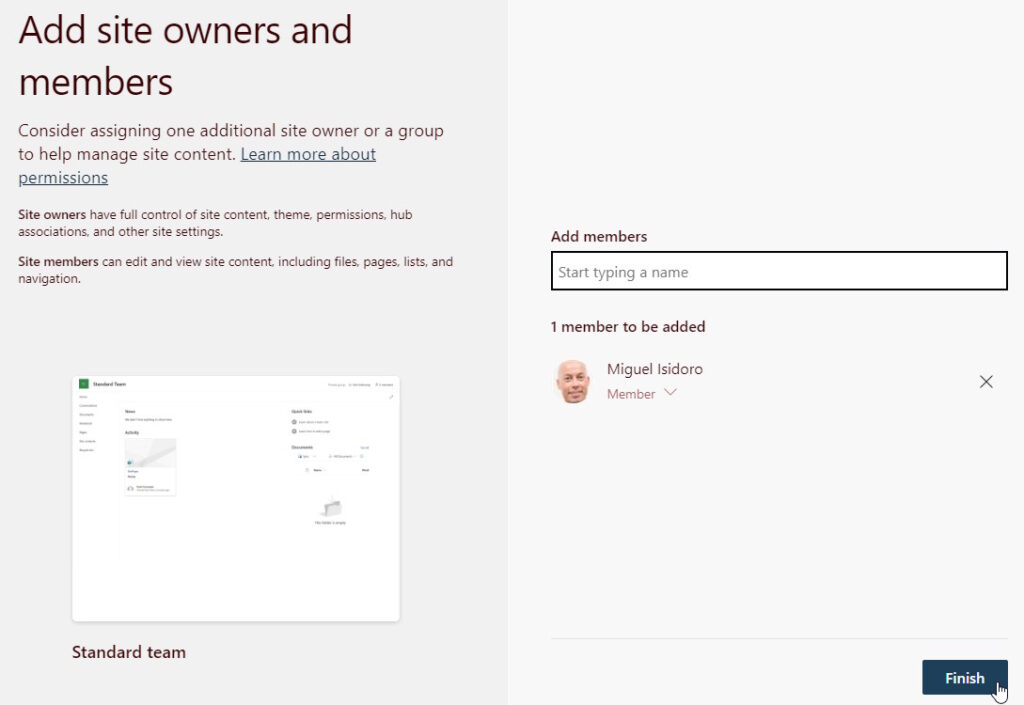
- Add site owners and members to the site.
- Access the site with an unmanaged device. In this example, the site was created as a “Private” group and with the label “Confidential”. As the site was configured to only allow access from the browser and not allow the use of Office desktop applications by devices not managed by the organization, a message appears at the top of the site indicating that it is not possible to download the documents or sync the documents for offline access.
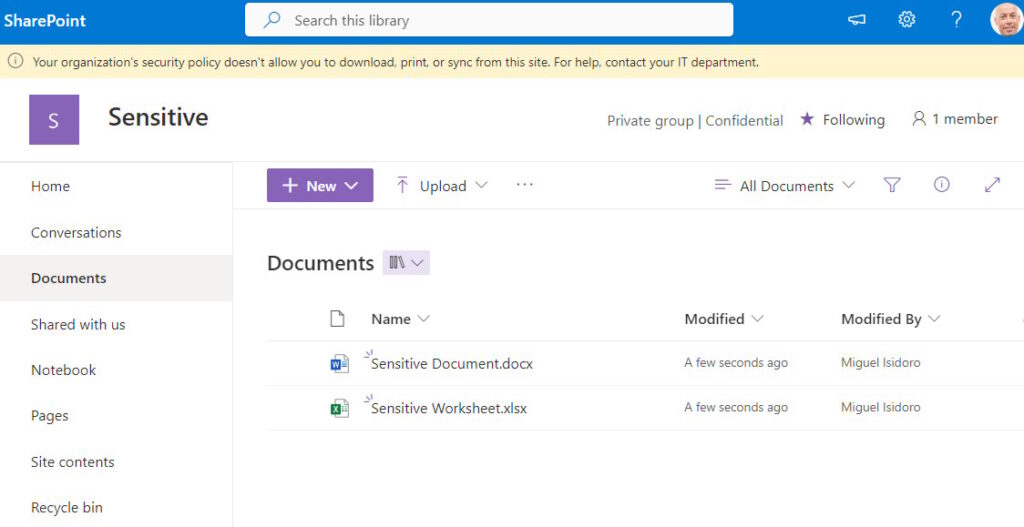
- In the “Documents” document library, verify that it is not possible to sync documents for offline access (“Sync” command should not be available in the command bar).
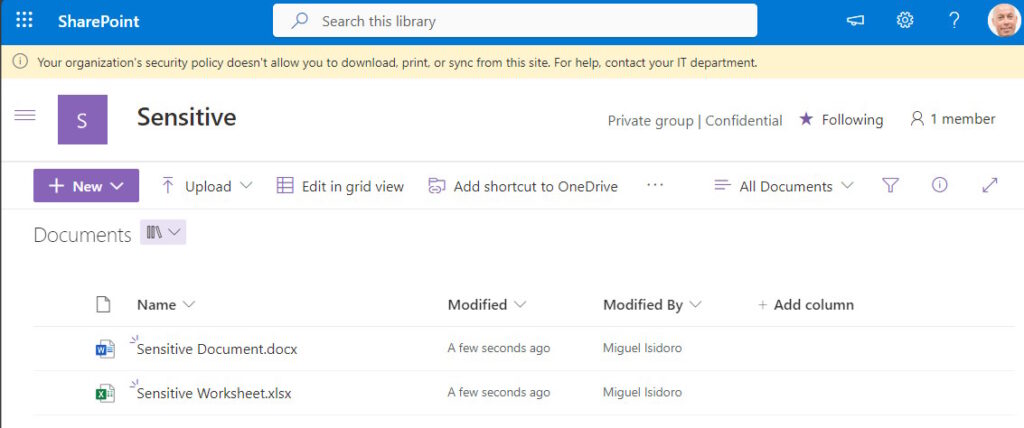
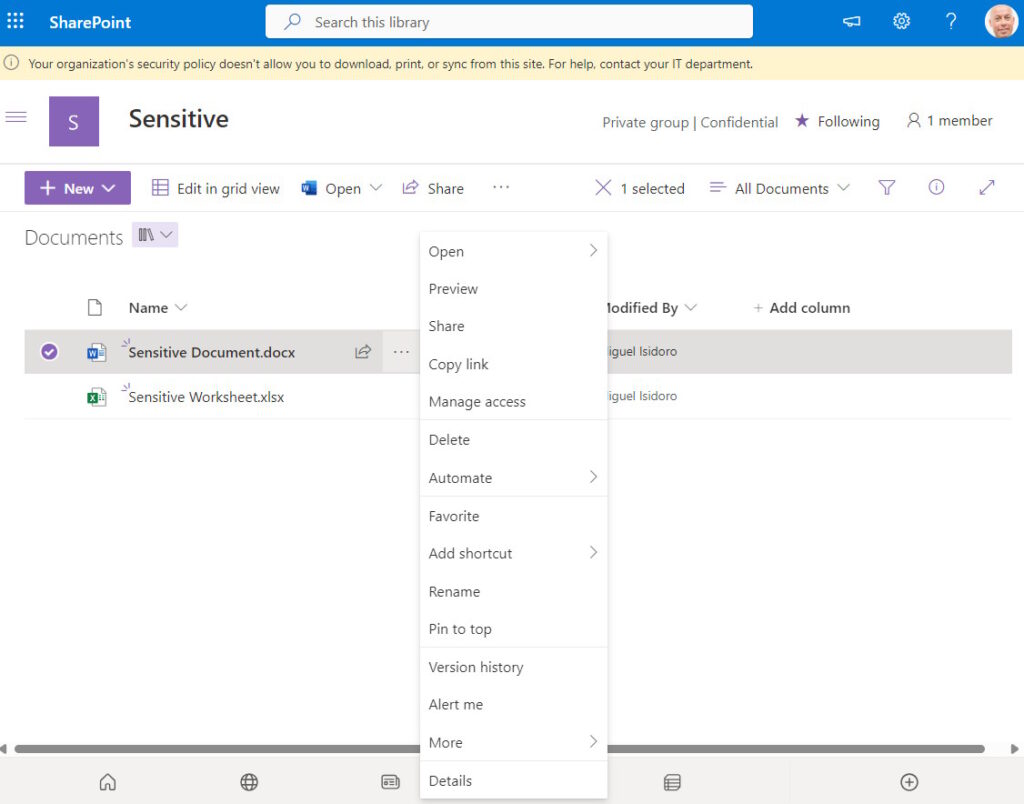
- In the “Documents” document library, verify that it is not possible to download documents (“Download” option should not be available in the document context menu).
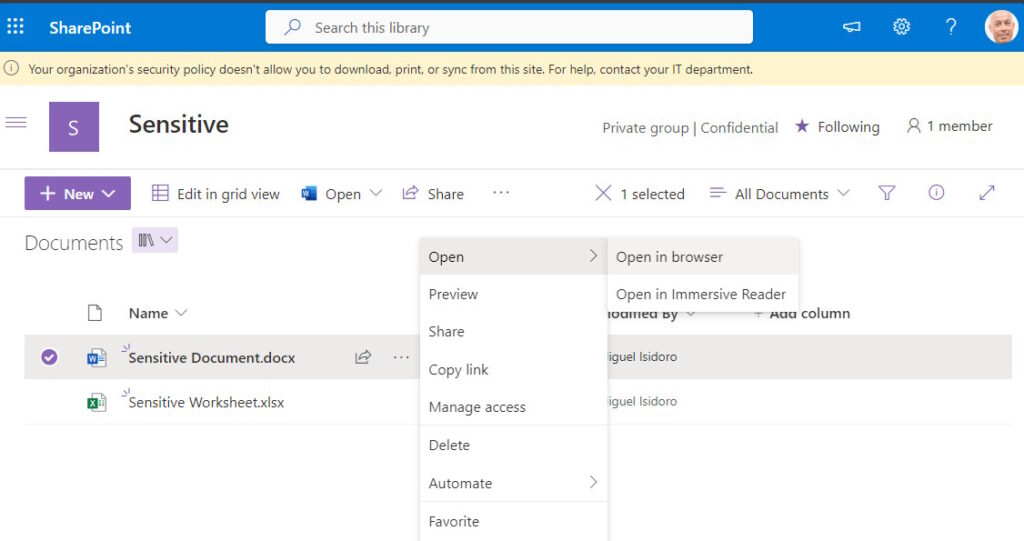
- In the “Documents” document library, verify that it is not possible to open a document using the desktop application and that documents can only be opened using the browser.
Happy SharePointing!
About the Author:
SharePoint & Office 365 Senior Consultant @ Create IT and tech enthusiast, focused on Microsoft technologies, specially everything that is related to SharePoint and Office 365 and working with Microsoft and SharePoint technologies for more than 16 years, from SharePoint 2001 up until SharePoint 2016 and Office 365. Other topics of interest include: Solution Architecture design, Code Generation and Web Development.
Reference:
Isidoro, M. (2024). How to protect sensitive information in SharePoint Online using Purview Sensitivity Labels. Available at: https://blogit.create.pt/miguelisidoro/2024/02/06/how-to-protect-sensitive-information-in-sharepoint-online-using-purview-sensitivity-labels/ [Accessed: 22nd April 2024].


